Showing posts with label Joey. Show all posts

Tuesday, July 19, 2011

1985 VF500F Interceptor (Part 4)

J.A.:  So apparently I'm very bad at this whole blogging thing, because I never seem to update it.  Oh well.  Anyways, this will be, probably the final part of the Interceptor series, so if you missed the other parts, check them out here:

Part 1
Part 2
Part 3

When I last left off, the entire bike was down to the frame, and ready to get painted, while the engine was waiting to receive its rear head and then be reunited with the frame.

Let's begin with the frame.  I would recommend when painting something yourself, that you spend the extra time prepping the piece you're painting so to avoid the headaches and wasted time that ensues if you do not prep the piece correctly.  This means strip as much paint off the piece as you can and wet-sand the piece to a smooth matte finish before you primer it.  If you do those parts correctly, the paint should go on smooth and glossy (assuming you're using a glossy finish, of course) and there should be much less finish work needed to make it look pretty.  When painting in a garage or other multi-use area, be sure to cover things that you dont want paint on, because it gets EVERYWHERE.  I didn't do this the first time I painted, and my bike, that was all the way accross the garage, was coated in a red dust.  I also recommend when doing a frame or something like that that is going to have parts bolted on and is under heavy stress that you put some coats of wax on it before reassembling all the parts.  This will help preserve the paint coat by adding some layers of protection against rubbing and scraping.  


I used Rustoleum Universal Gloss Cardinal Red for my frame, and having a can of paint thinner is always nice to wash the pain off your hands when you're finished if you're like me and never wear gloves.


Once the painting is done, the fun begins.  Take your time putting the bike back together, and clean each part as you go.  If you put in a couple of hours each day, this is a great way to relax and take your mind off work and the other aggravating things in your life.  Piece the bike back together reverse of how you took it apart, and things will just fit in; it's like a huge, motorized puzzle!


When returning the nervous system (wiring harness) to the skeleton, lay it out next to the bike and see where everything goes and figure out the best course of action to put it in the bike.  This may take a couple of tries before you realize how its supposed to go in.

 
Just slowly work on piecing things in, remembering to grease the parts that are constantly moving like suspension components and bearings.


The bike begins to take shape.


And all of a sudden, it's ready for an engine!


For this bike, the rear exhaust pipes need to be installed before the engine is installed into the frame.  So i decided this was a good time to clean them. They look so nice after a little bit of steel wool and simple green!


After a little bit of fanagling, the motor just pops right in.  This really helps with a second person though.


No matter how much you look at the motor before it goes in the bike, leaks always show their ugly head when you're about to fire it.

Once everything was bolted up and all leaks were fixed, the thing fired right up. And purred.  Aside from a high idle due to a carb maladjustment, it ran great.

Time to paint the panels!  First I stripped the tank as much as I could, and all the panels down to bare plastic. Then I spent a lot of time wet-sanding the panels for smoothness.  The white primer coat then went on.  More wet-sanding, and then the base coat, white again.  Then time for plenty of clear coats.


Here's the final product.


Sunday, June 5, 2011

1985 VF500F Interceptor (Part 3)

J.A.  For part three of this restoration, I have decided that with the engine out, I may as well strip down the bike completely and start from scratch.  For those of you who missed part 1 and 2, here they are:
Part 1
Part 2

Now that everyone is caught up, lets continue.

For those who are first-timers at a frame-down restoration, let me just tell you that preparation now will save you many headaches later.  That means you should have many bins to put things and you should keep your screws fairly organized so as to not mix them up.  Some people like to order things from back to front or front to back, but I like to organize it by what needs to be put on first as I reassemble it.  This will save you lots of time and energy later when it's a lot easier to make mistakes.

Again, like in motor removal, be methodical.  If something doesn't want to come out easily, then either it's not time for that piece to come out yet, or you forgot to remove a bolt attaching it.  I don't think there is much of a step-by-step manual for this, so start with the easy things like the battery box and work your way through the bike until everything is off.


Make sure to be delicate with the wiring harness, as you really don't want to destroy it and have to take it all apart and troubleshoot it.  It is a huge pain, and not too fun really.


The rear fender cage piece on this bike is a large unit and requires some finessing to get it off.  You can use some force to pry it from its metal cage, but you should not need anything more than your hands and some elbow grease.


Be careful disconnecting the rear brake assembly from the foot peg.


The headlight assembly can come off as one large unit, making sure that all of the wires trailing to the cables get removed before you yank the assembly off the bike.


Now would be a good time to place the bike on a jack as the last couple steps involve removing the two parts that hold the bike on the ground: the rear end and front end.


Be slow on the front end, as it takes a lot of work just to separate the forks from the frame.  First you must remove the fuse cover and loosen the steering stem nut.  The next step involves removing the bolts holding the top triple tree clamps in order to get to a Torx head bolt hidden up in the risers.  After that bolt is removed, you must remove another bolt securing the risers and a C-clip on the forks preventing the risers from being removed.  The same method applies for the other side as well.  Once the top triple tree is removed, you can take the remaining two nuts off and slide the steering stem out of the frame.

Place the front end is a safe place for the time being.  In order to keep it upright, ziptie the brake lever in the closed position to apply brake pressure to the wheel.


Once the front end is removed, all that is left is the frame.  Clean it up, paint it, and put everything back together, nice and clean.


 Man that little bike sure takes up a lot of garage space.

My plan for the restoration is to have a red bike with white panels, lucky enough, there is a photo of what my finished product basically should look like.


 We'll see how it turns out.  Painting the frame is my next project.

Saturday, June 4, 2011

1985 VF500F Interceptor (Part 2)

J.A.:  Welcome to my next installment of my disassembly and restoration of my beloved interceptor.
If you missed Part 1 please view it here: http://jbmotoresto.blogspot.com/2011/06/j.html

Now that I have discovered a major problem, removal of the engine to look over everything else is necessary (at least in my mind.) Though I may have been able to remove the head with the engine in the bike, it is much, much easier to do so with it off the bike and on a workbench.

So begins my long and arduous task of removing the motor:

I had not previously done an engine removal on a bike of this scale, so I used the manual as my guide for the most part.  Note to anyone who has never removed an engine before and wants to:  USE THE MANUAL!!!  I cannot stress that enough.  The last thing anyone wants to do is break something that could have easily been avoided had one paid close attention and followed directions carefully.  If you are removing the engine, something expensive is most likely already broken, so don't try to make it worse than it already is.  You may end up with a screwdriver through the wall, and now there is a hole in the drywall.

If you don't have a manual to help removing the engine, you can do a google search to try and find a PDF some nice individual has uploaded or purchase a E-version or paper copy off a site.  A good place for PDF versions that I have found is http://classiccycles.org/

Moral of the story is work slowly and carefully, unplugging all the connections and disconnecting things along the way.  The motor should end up coming out easily and in one piece with little to no dangling parts like hoses and wires.

Always remember to disconnect the batter before you begin removing the engine.  This is to avoid shorting anything so as to not damage it or yourself.

Since I have only removed this engine for this specific bike, the process will most likely be a little different for other bikes, so stick to the manual and you will come out alive.

I will admit right now, I am extremely bad at following directions, especially my own, so I did not necessarily follow the manual during my removal process, but then again, a little common sense goes a long way.

I started this process by removing the exhaust.  If you seem to have a hard time removing some pieces due to rust, a spray lubricant such as WD-40 works wonders.  The exhaust tubes may require a bit of wiggling to get them off, but they will move.  When removing the collector underneath, don't forget to loosen the collars connecting it to the rear pipes.  A cro-bar does the job if it doesn't want to leave its home.


The radiator needs to be removed, but make sure to drain it first.  Anti-freeze is very good at what it does and it won't evaporate from the garage floor.  When you spill some, make sure to clean it up right away as it is poisonous to pets who like to drink it for its sweet taste.


You have to remove the hydraulic clutch slave cylinder in order to get to the sprocket.  The  manual says to remove the sprocket from the motor, but that is really unnecessary since the chain will most likely have a master link.  The manual also says to remove the alternator and the clutch to remove the engine, but to me that is asinine, so I left them.  I hope the Honda Gods don't smite me for it.


A motorcycle jack is a great investment.  You can get one at just about any auto supply store, harbor freight, or my best friend (sorry Brody) Craigslist.  The jack is a really good tool to keep any project upright and stationary, and makes engine removal a breeze.


Continue unhooking  things like coolant lines and shift levers, and take the carburetors out.  As I said before, new boots make things easy as pie.  Just loosen the boots from both the carbs and the intakes, and give the assembly some upward force and *POP* out they come.


Again, the manual told me to remove the starter motor, which is only two or three bolts, but i chose instead to remove the power wire that runs to it from the battery instead.  That's only one bolt!


The cool thing about this bike is that one of the side rail down tubes detach to reveal an exit strategy for easy engine removal.  Good thinking Honda!  Just pop this bad boy off via the four obvious allen bolts once the two lower engine mounting bolts are removed (for those that have read this through before actually attempting to remove the engine, Kudos to you!  The others are probably wondering why the subframe isn't coming off right now.)


Make sure to have a helper with you, as it will make this next step 1000000 times easier.  Once you remove that last upper mount bolt, the engine will want to fall out of the frame and even though it is probably only 60 pounds, the bike also will not have a kick stand nor will it want to stay on the jack.  A second set of hands definitely helps in this instance.  After the engine is out, lightly bolt the subframe back on so you can use the kickstand again.


Now that the engine is out, you may now take it to your clean-room, I mean crappy makeshift table, for dismantling and inspection.

And that is the end of my how-to instructable, now back to my story.


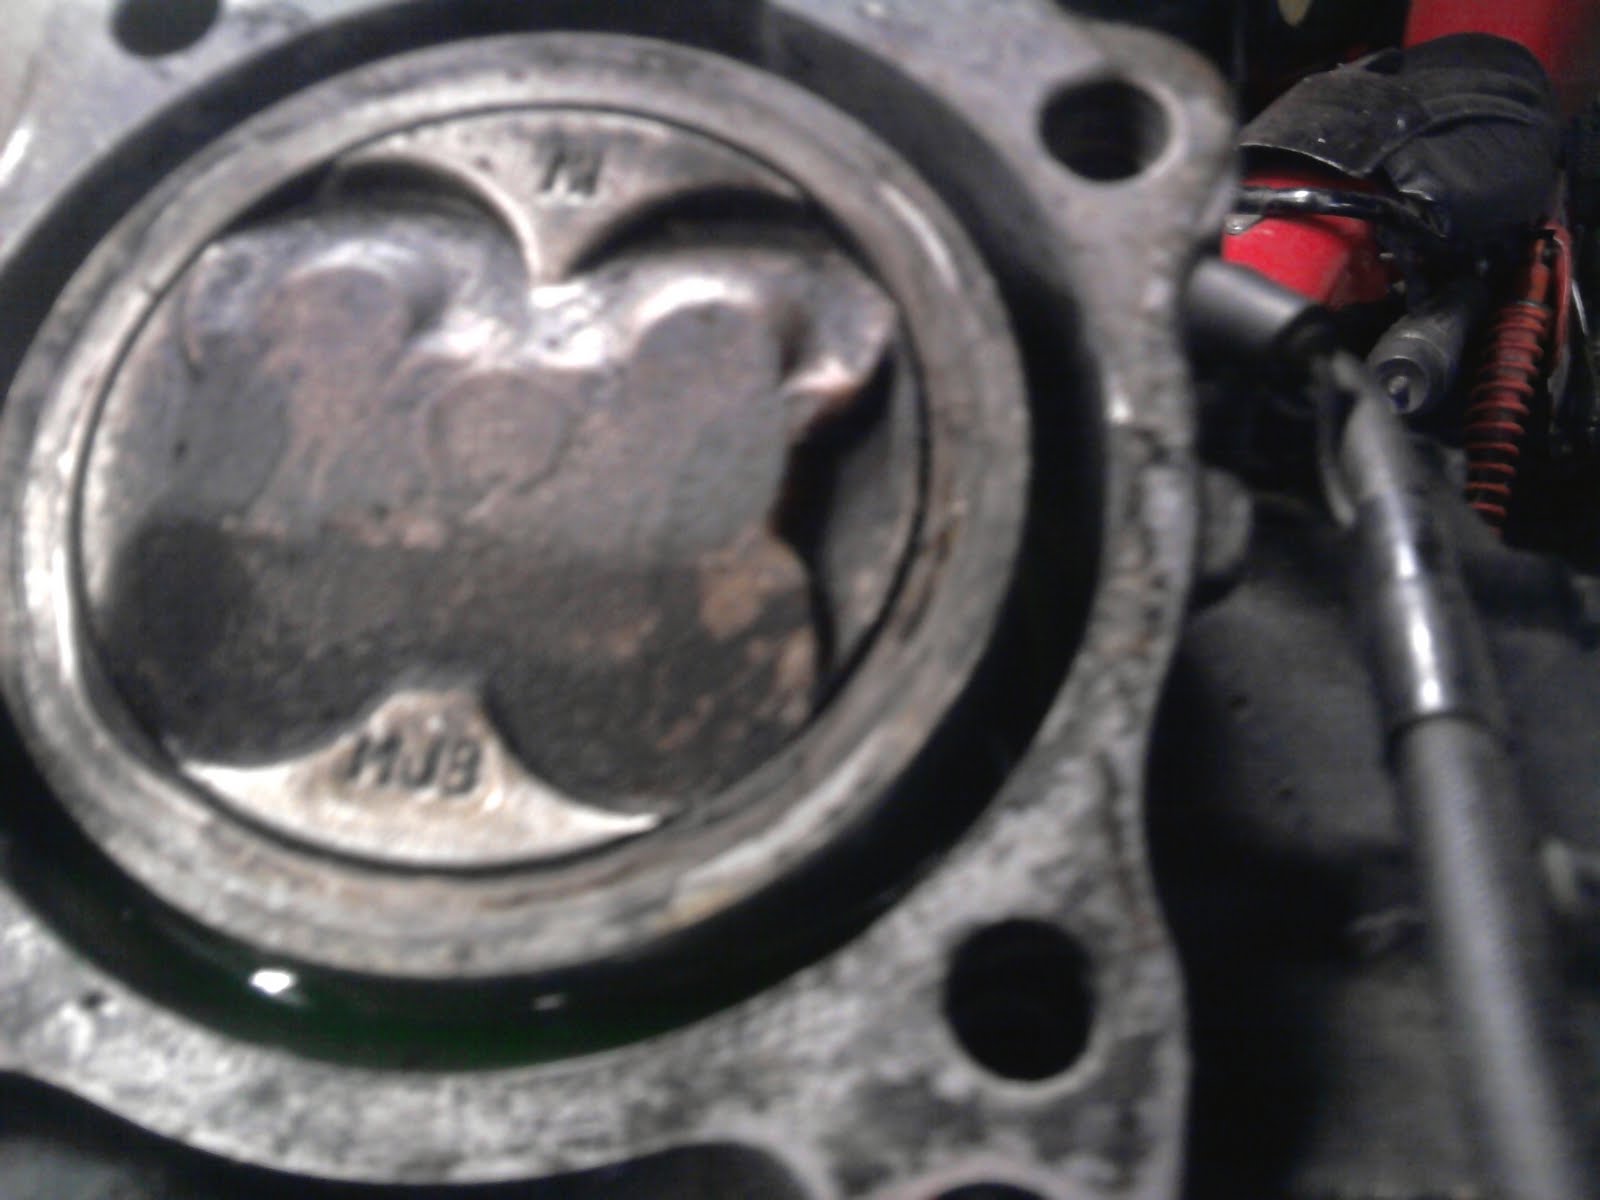
Once I took the engine out, I immediately removed the head to check the pistons and valve seats.  The top of the head was pretty damaged, so I knew I was needing at least that, but I wanted to check the pistons because if they were damaged, i was considering scraping this project and going to another one as it would no longer be worth my investment of time and money.


Luckily, the pistons were in good shape.  No signs of detonation, and the cylinders had a good crosshatch on them.  There was just a little carbon build-up, but nothing too bad.


The valves were not the prettiest, but they held fluids in my leak test, so at least none were bent.  I cleaned a bit of the head, but i then remembered I was getting another one, so there was no point.  Though I do have backup valves in case something happens to my new ones.


I ordered my head from 78tamama on eBay, and that husband-wife team has one of the nicest stores on eBay.    They are kind and considerate to me and worked with me to help me get this project on the road.  I am so fortunate there are nice people in this world who are like them.  I would recommend them to anyone looking for motorcycle parts.

I can't wait for the parts to get in sometime next week.  Until then, since the bike is this far apart, I might as well do a frame-down restoration.  More updates tomorrow!